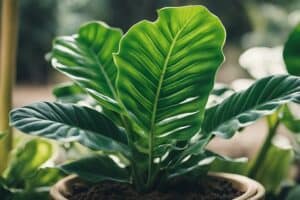
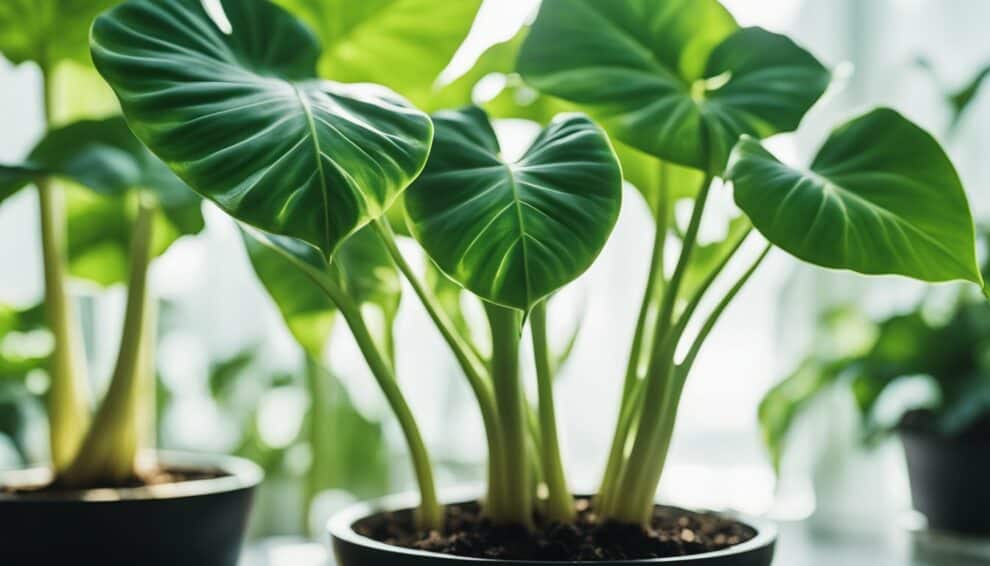
Alocasia plants are a popular choice for indoor and outdoor gardening enthusiasts due to their unique foliage and easy maintenance.
However, if you want to expand your collection of Alocasia plants, propagation is the way to go.
Propagation is the process of multiplying a plant by creating new individuals from one parent plant.
It is an easy and cost-effective way to add more plants to your collection.

Alocasia propagation can be done in various ways, but the most common methods include division, stem cutting, and offsetting.
Each method has its own advantages and disadvantages, but with the right tools and techniques, anyone can successfully propagate their Alocasia plants.
This article will focus on the propagation of two popular Alocasia varieties, the Amazonica and Macrorrhizos, and provide step-by-step instructions on how to do it.
Whether you are a seasoned gardener or a beginner, this article will guide you through the process of multiplying your Alocasia plants.
Understanding Alocasia Propagation
Propagation Basics
Alocasia propagation is the process of creating new plants from existing ones.
It is an easy and cost-effective way to grow your collection of Alocasia plants. There are two main methods of propagation: division and cuttings.
Division involves separating the plant into smaller sections, each with its own roots and leaves.
This is typically done when the plant has outgrown its pot and needs to be repotted.
Cuttings, on the other hand, involve taking a section of stem or leaf and encouraging it to grow roots and develop into a new plant.
Propagation can be done at any time of the year, but it is best to do it during the growing season when the plant is actively growing.
Alocasia plants prefer warm, humid conditions, so it is important to keep the soil moist and provide plenty of light.
Amazonica vs. Macrorrhizos
When it comes to Alocasia propagation, there are two main varieties to consider: Amazonica and Macrorrhizos.
Amazonica, also known as Alocasia Polly, is a smaller plant with striking green leaves and white veins.
It is a popular choice for indoor gardens and is relatively easy to propagate.
Macrorrhizos, on the other hand, is a larger plant with huge leaves that can grow up to 3 feet long.
It is also known as Giant Taro or Elephant Ear and is a popular choice for outdoor gardens.
Propagating Macrorrhizos can be a bit trickier than Amazonica, but with the right conditions and care, it can be done successfully.
No matter which variety you choose to propagate, it is important to follow proper techniques and provide the right conditions for the new plant to thrive.
With a little patience and care, you can multiply your Alocasia collection and enjoy these beautiful plants for years to come.
Methods of Propagation

Alocasia plants can be propagated through various methods. The most common methods of propagation are division, cuttings, and seed propagation.
Division
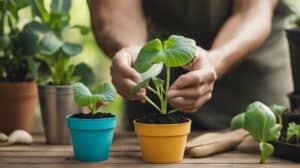
Division is the easiest and most common method of propagating Alocasia plants.
To propagate through division, the plant is carefully removed from its pot and the root ball is separated into smaller sections.
Each section should have several leaves and a healthy root system. The new plants are then potted in fresh soil and watered thoroughly.
Cuttings
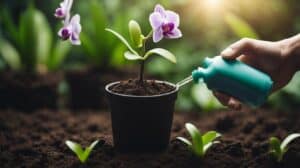
Another way to propagate Alocasia plants is through stem cuttings. Select a healthy stem with several leaves and cut it just below a node.
Remove the lower leaves from the stem and dip the cut end in rooting hormone. Plant the stem in a pot with fresh soil and water thoroughly.
Keep the soil moist and in a warm, bright location until new growth appears.
Seed Propagation
Seed propagation is the least common method of propagating Alocasia plants. Collect the seeds from the plant and plant them in a pot with fresh soil.
Keep the soil moist and in a warm, bright location until the seeds germinate and new growth appears.
This method can take longer than other methods of propagation and requires more patience.
In conclusion, Alocasia plants can be propagated through division, cuttings, and seed propagation.
Each method has its own advantages and disadvantages, but with proper care and attention, all methods can result in healthy, thriving plants.
Caring for New Alocasia Plants

After successfully propagating your Alocasia plant, it is important to provide proper care to ensure its healthy growth.
This section will cover the post-propagation care and common challenges you may encounter while caring for your new Alocasia plant.
Post-Propagation Care
Once your new Alocasia plant has been propagated, it is important to provide it with the following care:
-
Lighting: Alocasia plants prefer bright, indirect light. Avoid placing them in direct sunlight as it can cause leaf burn.
-
Watering: Keep the soil moist but not overly wet. Water your Alocasia plant when the top inch of soil feels dry.
Overwatering can lead to root rot and other issues.
-
Humidity: Alocasia plants prefer high humidity levels.
You can increase humidity by placing a tray of water near the plant or using a humidifier.
-
Fertilizer: Feed your Alocasia plant with a balanced fertilizer every two weeks during the growing season.
Common Challenges
Caring for Alocasia plants can be challenging, especially for new plant owners.
Here are some common challenges you may encounter and how to address them:
-
Yellowing leaves: Yellowing leaves can be a sign of overwatering or underwatering.
Make sure to water your plant appropriately and adjust the watering schedule as needed.
-
Pests: Alocasia plants are susceptible to pests such as spider mites and mealybugs.
Regularly inspect your plant for signs of pests and treat them promptly with an appropriate insecticide.
-
Root rot: Overwatering can cause root rot, which can be fatal to your plant.
If you suspect root rot, remove the affected roots and repot your plant in fresh, well-draining soil.
By following these tips, you can ensure the healthy growth and longevity of your new Alocasia plant.
Frequently Asked Questions

What’s the best way to propagate Alocasia through water?
Propagating Alocasia through water is an easy and effective method.
To do this, you should take a healthy leaf cutting and place it in a jar or vase filled with water.
You should change the water every few days to keep it fresh and prevent bacteria from forming.
After a few weeks, you should start to see roots growing from the base of the cutting.
Once the roots are around an inch long, you can transfer the cutting to soil.
Can you explain the steps to propagate Alocasia from leaf cuttings?
Propagating Alocasia from leaf cuttings is a simple process. First, you should choose a healthy leaf and cut it off at the base of the stem.
Then, you should cut the leaf into sections, ensuring that each section has a vein running through it.
Next, dip the cuttings in rooting hormone and plant them in a pot filled with a well-draining soil mix.
Keep the soil moist and in a warm, humid location, and in a few weeks, you should see roots and new growth emerging.
What’s the process for propagating Alocasia from stem cuttings?
Propagating Alocasia from stem cuttings is similar to leaf cuttings.
First, choose a healthy stem and cut it into sections, ensuring that each section has at least one node.
Dip the cuttings in rooting hormone and plant them in a pot filled with a well-draining soil mix.
Keep the soil moist and in a warm, humid location, and in a few weeks, you should see roots and new growth emerging.
How do I successfully propagate Alocasia bulbs?
To propagate Alocasia bulbs, you should start by digging up the bulbs from the parent plant.
Then, you should separate the bulbs and plant them in a pot filled with a well-draining soil mix. Keep the soil moist and in a warm, humid location.
In a few weeks, you should start to see new growth emerging from the bulbs.
What are the tips for propagating Alocasia using corms?
Propagating Alocasia using corms is a simple process. First, you should dig up the corms from the parent plant.
Then, you should separate the corms and plant them in a pot filled with a well-draining soil mix. Keep the soil moist and in a warm, humid location.
In a few weeks, you should start to see new growth emerging from the corms.
Is it possible to clone Alocasia plants, and if so, how?
Yes, it is possible to clone Alocasia plants. The most common method for cloning Alocasia is through tissue culture.
This involves taking a small piece of tissue from the parent plant and placing it in a sterile nutrient medium.
The tissue will grow into a new plant, which can then be transferred to soil.
Tissue culture is a more advanced method of propagation and is typically done by professionals or experienced growers.