
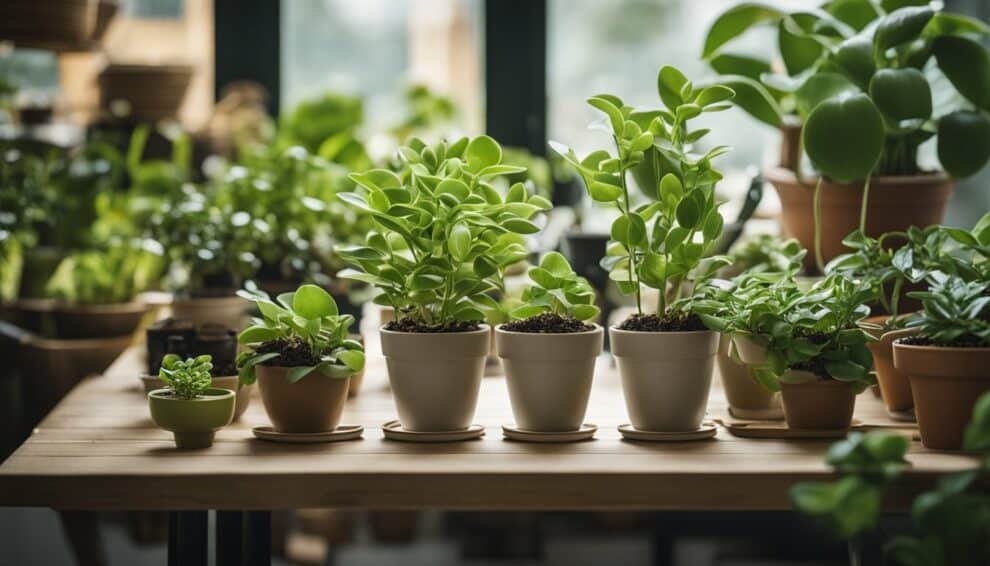
Hoya plants are an excellent addition to any indoor garden.
These low-maintenance plants are known for their beautiful foliage and fragrant flowers.
The two most popular varieties of Hoya plants are the Carnosa and Kerrii.
While these plants are relatively easy to care for, propagating them can be a bit tricky.

In this article, we will explore the world of Hoya plant propagation.
We will provide step-by-step instructions for cultivating both Carnosa and Kerrii varieties.
Whether you’re a seasoned gardener or a beginner, this guide will help you successfully propagate your Hoya plants and expand your indoor garden.
So, let’s dive in and learn how to cultivate these beautiful plants!
Understanding Hoya Plant Propagation
Propagation Basics
Hoya plant propagation is a simple and rewarding process. It involves taking cuttings from an existing hoya plant and rooting them to create new plants.
The two most common hoya varieties that are propagated are the Carnosa and Kerrii.
Before starting the propagation process, it is important to gather the necessary tools and materials.
These include a sharp pair of scissors or pruning shears, a clean container filled with well-draining soil or a rooting medium, and a rooting hormone.
To begin the propagation process, select a healthy stem from the parent plant that is at least 4-6 inches long and has several leaves.
Cut the stem at a 45-degree angle just below a node, which is where a leaf meets the stem.
Remove the lower leaves from the stem, leaving only a few at the top.
Dip the cut end of the stem into rooting hormone and gently tap off any excess. Plant the stem in the rooting medium and water thoroughly.
Place the container in a warm, bright location but away from direct sunlight. Keep the soil moist but not waterlogged.
Within a few weeks, the stem should start to develop roots and new growth.
Once the new plant has established roots and is growing well, it can be transplanted into a larger pot with fresh soil.
Best Season for Propagation
The best time to propagate hoya plants is during the spring or summer when the plant is actively growing.
This is when the plant is producing new growth and is more likely to root successfully.
During the fall and winter months, hoya plants enter a period of dormancy and may not root as easily.
If propagating during these months, it is important to provide extra warmth and humidity to encourage root growth.
Overall, hoya plant propagation is a fun and easy way to expand your plant collection and share your love of hoya plants with others.
With a little patience and care, anyone can successfully propagate these beautiful and unique plants.
Cultivating Hoya Carnosa

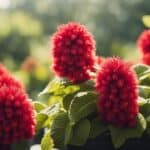
Hoya Carnosa, also known as the Wax Plant, is a popular Hoya variety among plant enthusiasts due to its beautiful foliage and fragrant flowers.
This species is native to Southeast Asia and can be propagated by stem cuttings or layering.
Stem Cutting Method
The stem cutting method is one of the easiest ways to propagate Hoya Carnosa. Follow these simple steps to propagate your Hoya Carnosa:
- Choose a healthy stem that is at least 4 inches long and has a few leaves.
- Cut the stem at a 45-degree angle just below a node.
- Remove the leaves from the bottom two-thirds of the stem.
- Dip the cut end of the stem in rooting hormone.
- Plant the stem in a well-draining soil mix, and water it thoroughly.
- Place the pot in a warm, bright location, but out of direct sunlight.
- Keep the soil moist but not waterlogged.
- After a few weeks, the cutting should start to develop roots. You can check by gently tugging on the stem. If there is resistance, roots have formed.
Layering Technique
The layering technique is another effective way to propagate Hoya Carnosa. Follow these simple steps to propagate your Hoya Carnosa:
- Choose a healthy stem and bend it gently to the ground.
- Make a small wound on the stem where it touches the soil.
- Cover the wound with a small amount of soil.
- Secure the stem to the soil with a U-shaped wire or a small stake.
- Water the soil thoroughly.
- Place the pot in a warm, bright location, but out of direct sunlight.
- Keep the soil moist but not waterlogged.
- After a few weeks, roots should start to form where the wound is covered with soil. You can check by gently tugging on the stem.
If there is resistance, roots have formed.
By following these simple steps, you can easily propagate your Hoya Carnosa and enjoy its beautiful foliage and fragrant flowers for years to come.
Cultivating Hoya Kerrii

Leaf Cutting Approach
Hoya Kerrii is commonly propagated through leaf cuttings. To do this, select a healthy leaf from the plant and cut it off at the base of the stem.
Make sure the leaf is at least 2 inches long and has a node attached to it. The node is where the roots will grow from.
Once you have your leaf cutting, allow it to dry for a few hours before planting it in soil. This will help prevent the cutting from rotting.
Then, plant the cutting in a well-draining soil mix, making sure the node is buried in the soil.
Soil and Water Requirements
Hoya Kerrii prefers well-draining soil that is rich in organic matter. A good mix would be equal parts of peat moss, perlite, and vermiculite.
It is important to water the plant regularly, but make sure not to overwater it. Allow the soil to dry out slightly between watering to prevent root rot.
In terms of lighting, Hoya Kerrii prefers bright, indirect light.
Direct sunlight can scorch the leaves, so it is best to place the plant near a window with filtered light.
Overall, Hoya Kerrii is a relatively easy plant to propagate and care for.
With the right soil mix, watering schedule, and lighting conditions, you can enjoy this beautiful plant for years to come.
Caring for Propagated Hoyas

Light and Temperature
After propagating your Hoya plant, it is important to give it the right amount of light and temperature.
Hoyas prefer bright, indirect light and temperatures between 60-80°F. If the temperature drops below 50°F, it can damage the plant’s leaves and growth.
On the other hand, too much direct sunlight can cause the leaves to burn.
Fertilizing and Pruning
Fertilizing your propagated Hoya plant is essential for its healthy growth. Use a balanced fertilizer every four to six weeks during the growing season.
Avoid fertilizing during the winter months when the plant is dormant.
Pruning is also important for the Hoya plant’s health. Regular pruning helps keep the plant in shape and promotes new growth.
Cut back any dead or damaged leaves and stems. You can also prune the plant to control its size and shape.
Overall, caring for your propagated Hoya plant requires attention to detail and patience.
With the right amount of light, temperature, fertilizing, and pruning, your Hoya plant will thrive and bring beauty to your home.
Frequently Asked Questions

Can Hoya carnosa be propagated from cuttings?
Yes, Hoya carnosa can be propagated from cuttings. The best time to take cuttings is during the spring or summer months.
The cutting should be taken from a healthy, mature plant and should be at least 4-6 inches long.
Dip the cut end of the stem in rooting hormone and plant it in a well-draining potting mix.
Keep the soil moist and the cutting in a warm, bright location until roots develop.
What are the steps for propagating Hoya kerrii in water?
To propagate Hoya kerrii in water, cut a healthy leaf from the plant and remove the stem.
Place the leaf in a jar or vase filled with water, making sure that the bottom of the leaf is submerged.
Change the water every few days to prevent bacteria growth. After a few weeks, roots should start to grow from the bottom of the leaf.
Once the roots are about an inch long, you can plant the leaf in soil.
How can you identify a node on a Hoya kerrii for successful propagation?
A node on a Hoya kerrii is a small bump or swelling on the stem where a leaf or a vine emerges.
Nodes are important for propagation because they are where new roots and shoots will grow.
To identify a node on a Hoya kerrii, look for a small bump or swelling on the stem that is located just below a leaf or a vine.
What are the different types of Hoya plants suitable for home propagation?
There are many different types of Hoya plants that are suitable for home propagation, including Hoya carnosa, Hoya kerrii, Hoya pubicalyx, and Hoya lacunosa.
Each variety has its own unique characteristics and requirements for successful propagation.
What is the expected lifespan of a Hoya heart leaf?
The lifespan of a Hoya heart leaf can vary depending on the care it receives. With proper care, a Hoya heart leaf can live for several years.
It is important to provide the plant with the right amount of light, water, and nutrients to ensure its longevity.
How long does it typically take for Hoya cuttings to establish roots?
The time it takes for Hoya cuttings to establish roots can vary depending on the variety of Hoya and the conditions in which it is grown.
Generally, it takes about 2-4 weeks for Hoya cuttings to develop roots.
It is important to keep the soil moist and the cutting in a warm, bright location during this time.